Making My First Website Clone: Creating a Landing Page

A highly motivated and driven high school student with a passion for both coding and writing. With a natural aptitude for language and communication, I have a unique perspective on the world of technology and am able to effectively share my insights through my personal blog. My ultimate goal is to use my knowledge and abilities to make a positive impact on the world through the development of innovative and impactful technology solutions and projects.
Hey Everyone!!!
My name is Atharva and I am a high school student who is passionate about programming, content writing and open-source. I am curious about the world of technology and how it can be used to make a difference in the world.
In this blog, I will be explaining how I created my first website clone using HTML and CSS only!!!
Let's Begin !!!

Introduction
Creating landing pages is an essential step towards learning Web development. It's the first thing you need to be able to make before getting started with Javascript and Backend. In this article, I will guide you through the process of making your first website clone by creating a landing page. Whether you're new to web development or an experienced developer, this step-by-step guide will help you create a professional-looking landing page that will attract and retain visitors. So, let's get started!
In this blog post:
I will walk you through the process of creating a clone of UsabilityHub, a website that provides usability testing tools.
We will be focusing on creating a landing page that looks similar to the one on UsabilityHub.
We will use HTML and CSS only to create our clone.
Linkto the clone website
Steps to Create a Clone of a Website:
Choose a Website to Clone: The first step in creating a website clone is to choose a website that you want to clone. In our case, we have chosen UsabilityHub. You can choose any website that you like, but it's recommended to start with a simple website.
Analyze the Website: Once you have chosen the website you want to clone, the next step is to analyze the website's design and structure. Look at the website's layout, colour scheme, typography, and any other design elements that you want to incorporate into your clone. You can use browser developer tools to inspect the website's code.
Create a Plan: Before you start coding, it's essential to create a plan for your clone. Determine which pages you want to create and what features you want to include. You can sketch out a wireframe or create a design document.
Code Your Clone: Now it's time to start coding your clone. You can use HTML and CSS only or use a web framework like Bootstrap or Materialize. We will be using HTML and CSS only for this clone.
Creating a Landing Page:
A landing page is a web page that serves as the entry point for a website or a particular section of a website. Landing pages are designed to convert visitors into leads or customers. In this section, we will focus on creating a landing page for our UsabilityHub clone.
- Start with HTML Markup: We will start by creating the HTML markup for our landing page. We will create a basic structure that includes a header, main content area, and a footer.
phpCopy code<!DOCTYPE html>
<html>
<head>
    <title>UsabilityHub Clone</title>
</head>
<body>
    <header>
        <nav>
            <ul>
                <li><a href="#">Home</a></li>
                <li><a href="#">About Us</a></li>
                <li><a href="#">Contact Us</a></li>
            </ul>
        </nav>
    </header>

etc...
Generate a brief outline of the sections: By looking at the original website and by applying the grid rules to the website you get a brief outline of the sections the page consists like the navbar, hero section etc.
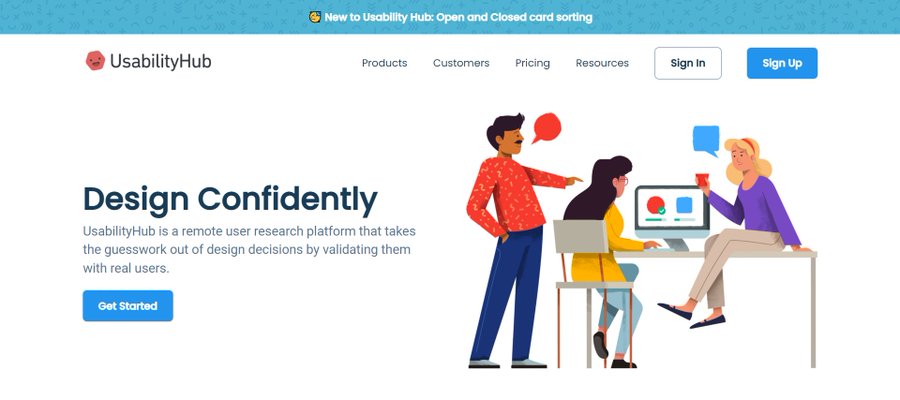
For example look at the starting section of the website :
Add General CSS styling: At the beginning of every project you need to get rid of the browser's default styling and some basic styling that makes the components more stylish.
 /* BASIC STYLING FOR A WEBSITE STARTS*/
 *{
     margin: 0;
     padding: 0;
     box-sizing: border-box;
 }
 /*VARIABLES*/
 :root{
     --primary-text-color: #183b56;
     --secondary-text-color: #577592;
     --accent-color: #2294ed;
     --accent-color-dark: #1d69a3;
     --padding-inline-section: 20px;
 }

 body{
     font-family: 'Poppins', sans-serif;
     color: var(--primary-text-color);
 }

 h1{
     font-size: 3rem;
 }

 h2{
     font-size: 2rem;
 }

 h3{
     font-size: 1.5rem;
 }

 p{
     font-family: 'Roboto', sans-serif;
     font-size: 1.25rem;
     color: var(--secondary-text-color);
     line-height: 1.8rem;
 }

 a{
     text-decoration: none;
     display: inline-block;
 }

 ul{
     list-style: none;
 }
 /*BASIC STYLING FOR A WEBSITE ENDS*/
Add Content to The Page: Write the HTML and CSS code to replicate the content of the website by using flexbox/grid/animations or other CSS concepts and fill out images from the website accordingly.
 .features-area{
     flex-wrap: wrap;
     justify-content: space-between;
     gap: 20px;
     margin-top: 20px;
     margin-bottom: 100px;
 }

 .features-card{
     flex-direction: column;
     gap: 20px;
     max-width: 30%;
     text-align: center;
 }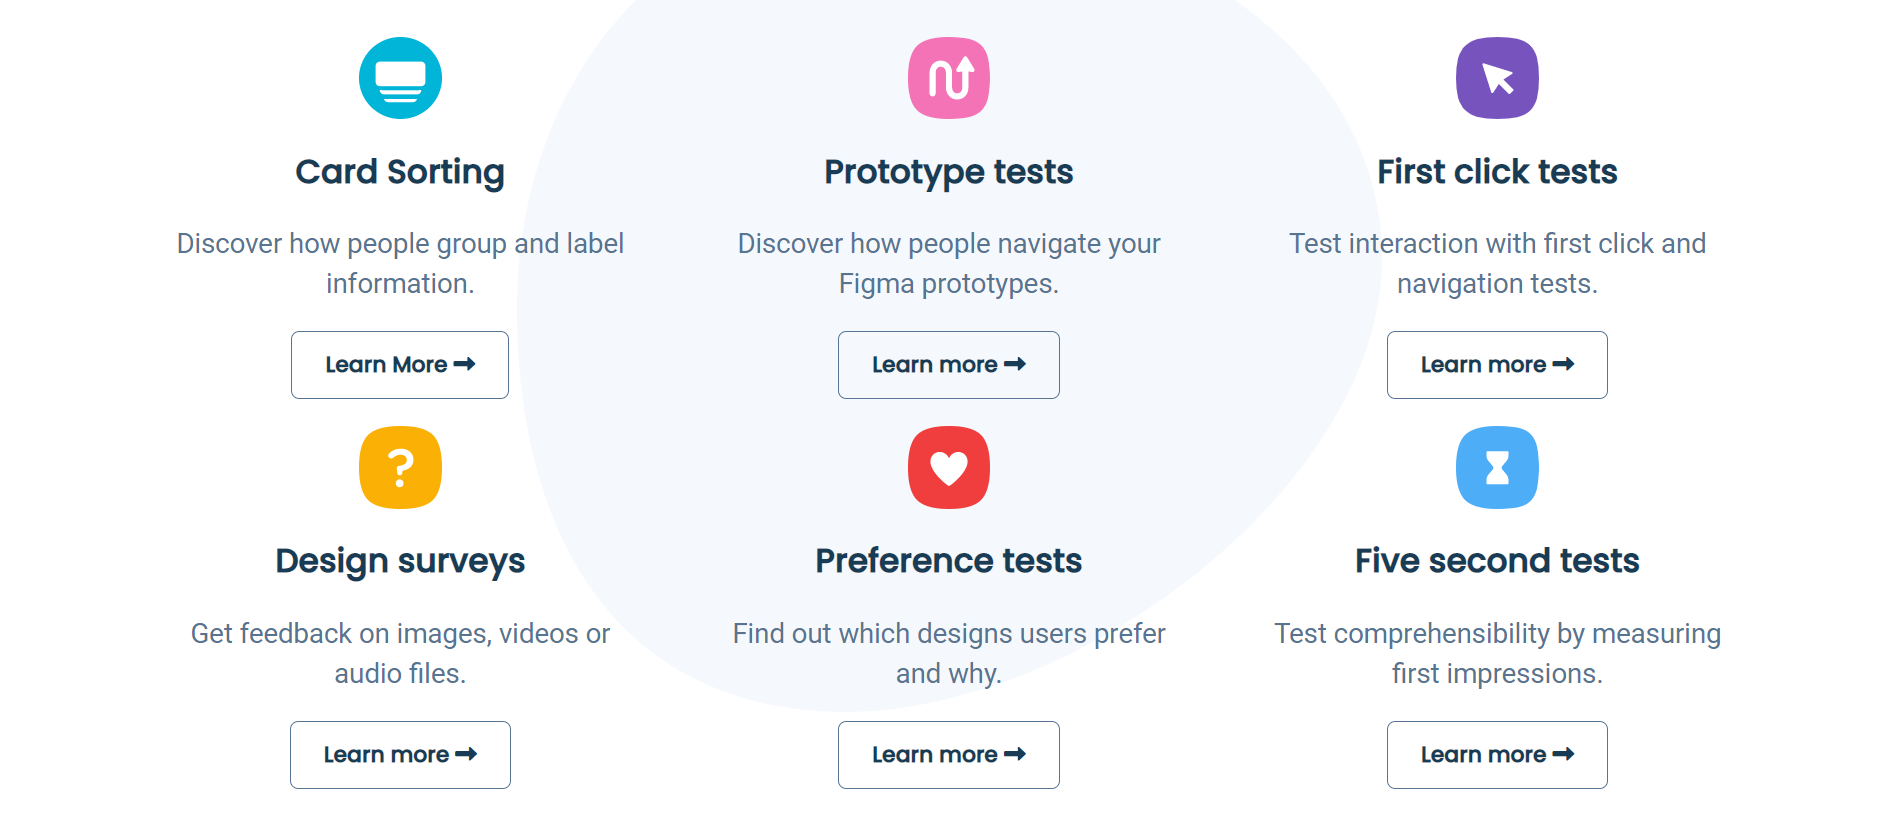
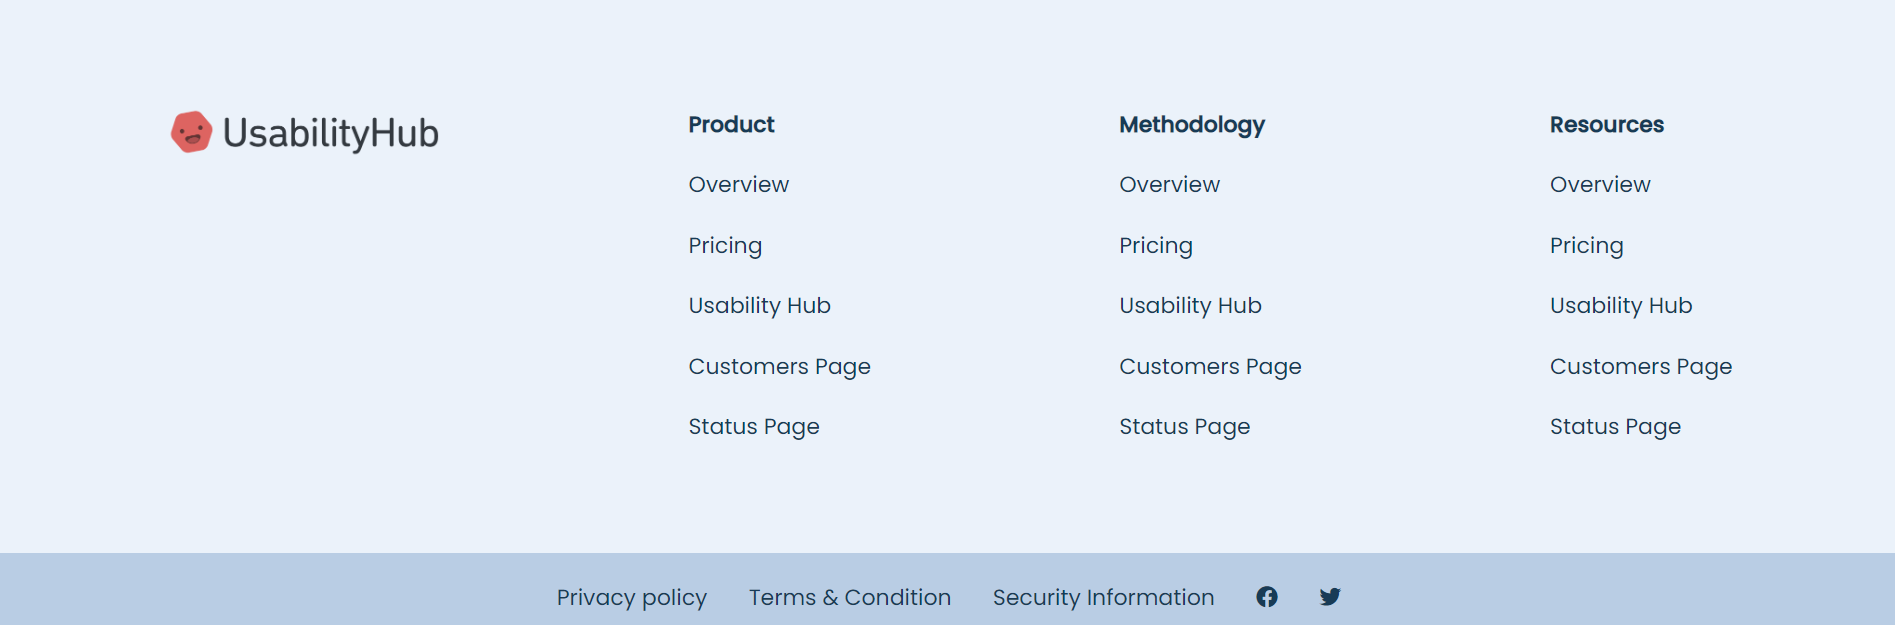
Add the Footer: Make sure to add the footer to your landing page/ clone for a more professional look.
Conclusion
In conclusion, creating a landing page is an essential step towards learning web development. By choosing a website to clone, analyzing its design, creating a plan, and coding your clone, you can create a professional-looking landing page that will attract and retain visitors. By following the steps outlined in this article and using HTML and CSS only, you can create a clone of any website you like. Whether you're new to web development or an experienced developer, this step-by-step guide will help you create a successful landing page.
Stay determined, stay focused and keep pushing forward !!!

Liked This Blog?
Do react and comment with your thoughts on the points discussed above.
Make sure to follow me :


